내가 옵시디언을 사용하면서 애용하는 플러그인 중 하나가 Excalidraw이다.
간단하면서도 예쁜 이미지들을 만들 수 있기 때문에 아이디어를 시각화하는 도구로 애용하며 텍스트가 아닌 이미지를 통한 설명이 필요할 때도 자주 사용하는 편이다.
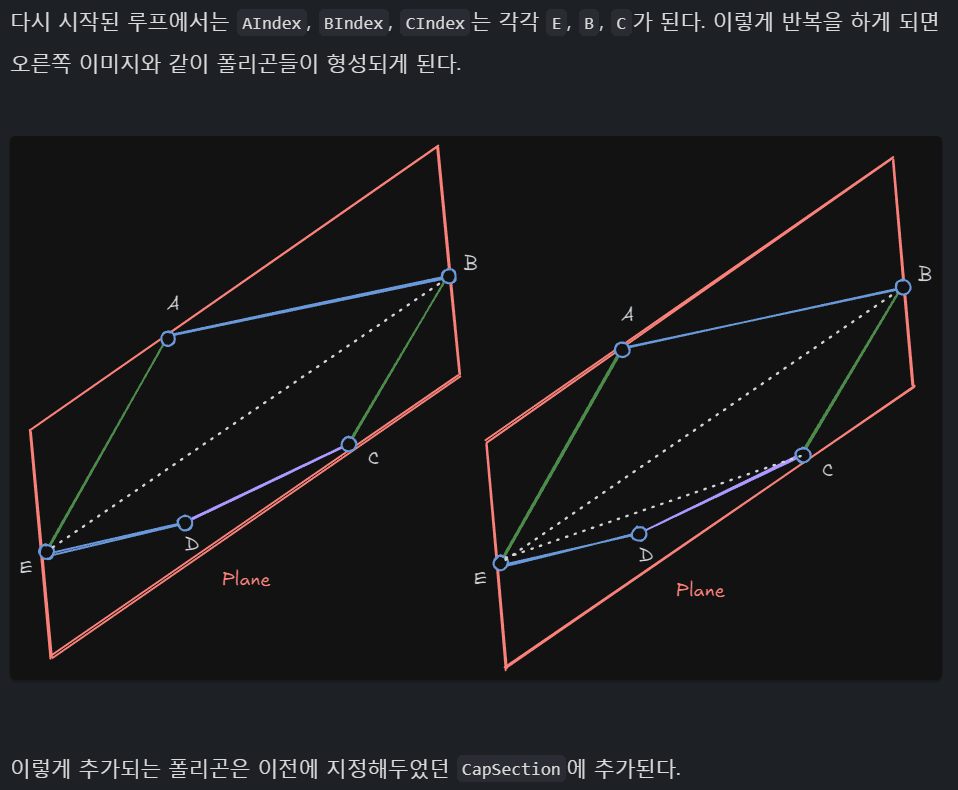
이런식으로 문서 중간에 이미지처럼 링크를 걸어 첨부한다
이게 옵시디언에서는 정말 좋다.
슥슥 간편하게 시각화 이미지를 만들어내고, 이미지처럼 ![[]]태그를 통해 링크를 걸면 문서에서 바로 렌더링된다. 다른 이미지 형식보다 좋은점은 바로 수정을 할 때이다. 옵시디언에 플러그인으로 포함되어 있기 때문에 그냥 해당 엑스칼리드로우 이미지를 열어 수정하면 된다. 그럼 링크가 걸린 모든 곳이 다 수정이 된다.
그런데 이게 워드프레스에 포스팅할 때는 컨버팅이 만만치 않다. 일일히 하나씩 이미지로 익스포트하거나 캡처를 사용해서 이미지 형태로 전환하여 업로드하고 포스팅 글을 편집해야한다. 워드프레스 플러그인에도 엑스칼리드로우를 사용할 수 있는 플러그인이 있긴 한데… 그래서 그냥 .excalidraw문서를 업로드 하고 해당 플러그인으로 렌더링 시키면 어떨까 생각도 해봤다. 하지만 일단 플러그인이 유료이고, 잠깐 찾아본 바로 서버사이드에서 렌더링을 지원안한다는 것 같기도 하고, 원본은 옵시디언 노트에 있으니까 워드프레스에는 아카이브된다는 느낌으로 이미지로 컨버팅 후 올리는게 낫겠다 싶었다.
커서 AI가 해주지 않을까?
지금까지 커스텀한 것들도 잘 해낸 커서 AI니까 이것도 그낭하지 않을까? 해서 프롬프트에 이렇게 저렇게 요청 사항들을 보내기 시작했다. 뭔가 그럴듯한 답변들과 코드들을 내놓긴 하는데 당연히 동작할리 없지. 코드만 봐도 그냥 안될 것 같은 코드들이였다. 그래도 뭔가 완전히 창조해낸 코드들은 아닌 것 같다.
레퍼런스 사이트를 링크로 던져주면?
구글링을 좀 해보니 Excalidraw에서 API들을 제공하고 있었다. 아직 내용이 좀 빈약하긴 하지만 어쨌든 방법이 아예 없진 않아 보였다. 이 url을 던져주며 다시 커서 AI에게 요청하니 이전보다는 좀 더 그럴듯한 코드들을 만들어내기 시작했다. 하지만 그냥 그 정도 뿐이였고 여전히 갈길이 멀어보인다.
Excalidraw plugin코드를 던져주면?
생각해보니 옵시디언 엑스칼리드로우 플러그인에서 이미지로 익스포트 하는 기능이 이미 있다.
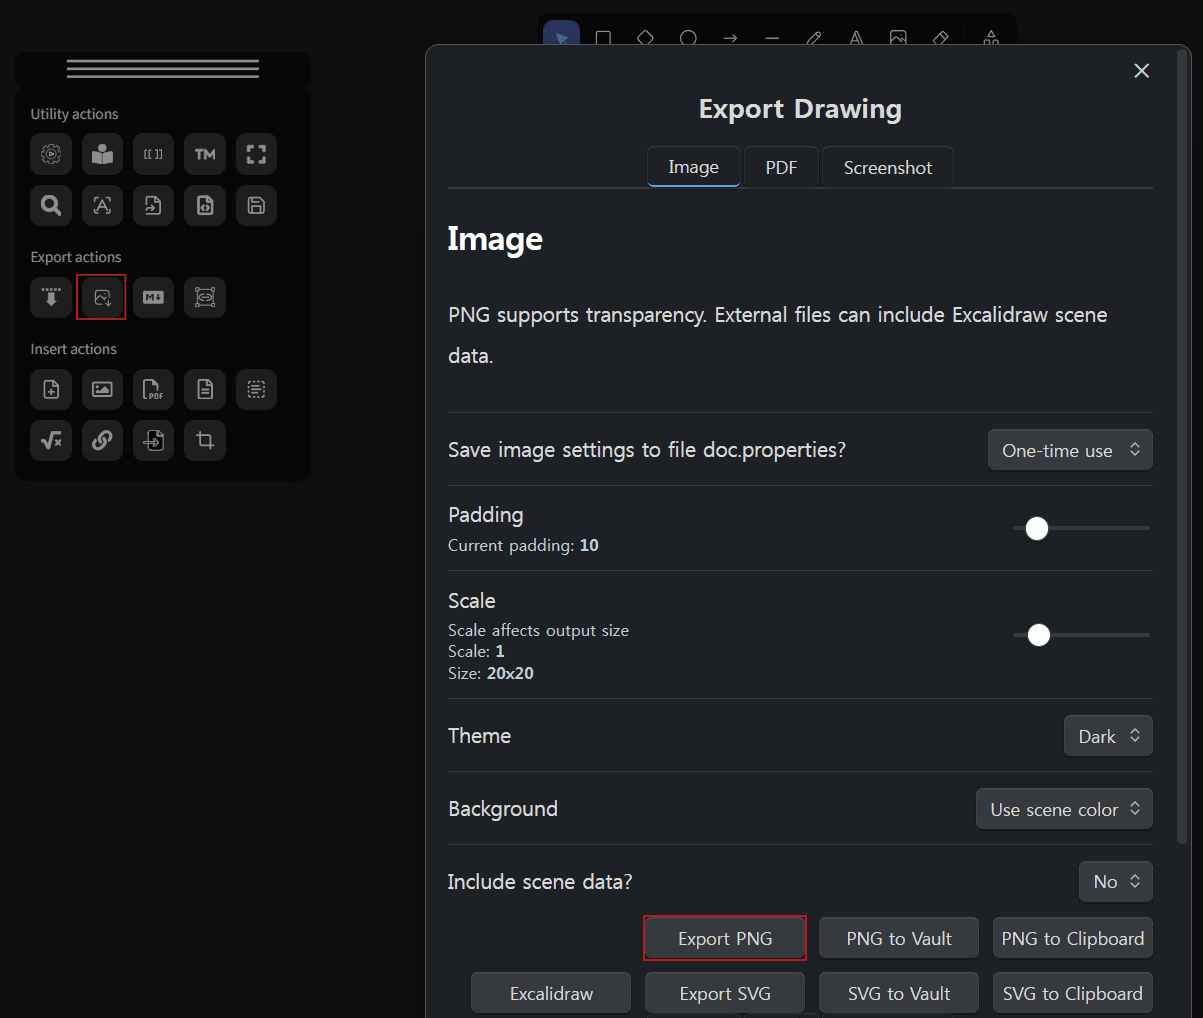
옵시디언 Excalidraw 플러그인의 Export PNG
그렇다면 어차피 오픈소스 플러그인이니까 이 코드를 참고하면 이미지 익스포트는 그냥 가능한거잖아? zsviczian/obsidian-excalidraw-plugin: A plugin to edit and view Excalidraw drawings in Obsidian에서 곧바로 저장소를 포크한뒤 내려받았다. 그리고 커서 AI에게 이 플러그인 프로젝트에서 PNG로 익스포트하는 부분을 가져와 정리하여 다른 플러그인 프로젝트에 사용할 수 있도록 정리를 해달라고 요청을 했다.
무언가 열심히 코드들을 만들어냈지만 결과는? 안돼.
거기다가 코드들을 좀 자세히 보니 이전에 생성해낸 코드들이랑 별반 다르지 않았다. 이쯤되면 그냥 내가 만들어야지 싶었다.
Excalidraw API – exportToBlob
일단 계속 커서 AI와 씨름하면서 코드의 얼개는 어느정도 나온것 같다. 동작하지 않는 코드들을 다시 다 밀어내고 하나씩 동작 여부를 확인해보기로 했다. .excalidraw파일을 일반 텍스트 편집기로 열어보니 무언가 암호화되어 있는 것으로 보였다.
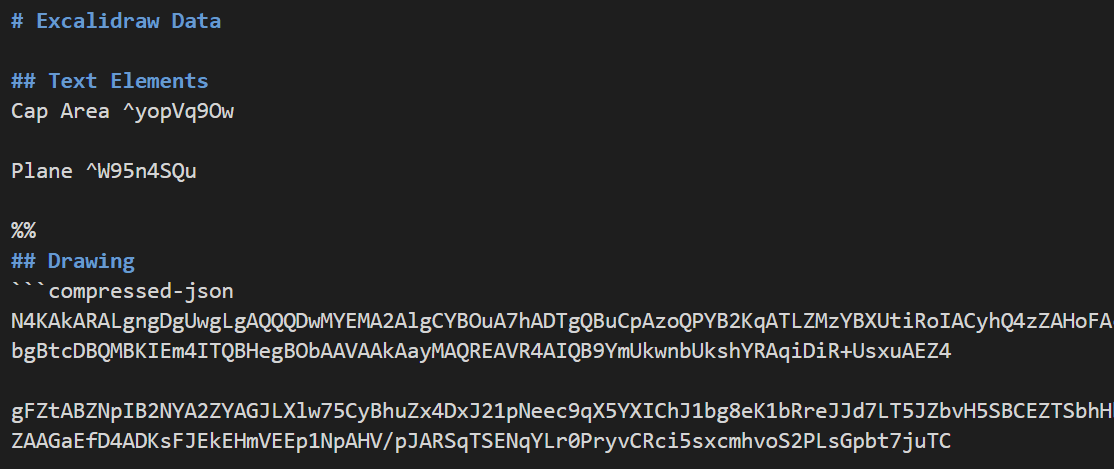
암호화된건지 압축된건지…
기존 코드에서 파일의 내용을 json으로 컨버팅하는 부분은 있었는데 이미 파일 내용이 압축된 것이라면 당연히 동작을 안하겠다는 생각이 들었다. 그럼 가장 먼저 확인해볼 것은 유효한 데이터를 던져줬을 때 성공적으로 png파일을 생성해낼 수 있는가이다.
https://docs.excalidraw.com/docs/@excalidraw/excalidraw/api/props/initialdata 에서 유효한 데이터를 가져와 exportToBlob을 시도했다.
let blob = exportToBlob
( {
    elements :
    [ {
      type: "rectangle",
      version: 141,
      versionNonce: 361174001,
      isDeleted: false,
      id: "oDVXy8D6rom3H1-LLH2-f",
      fillStyle: "hachure",
      strokeWidth: 1,
      strokeStyle: "solid",
      roughness: 1,
      opacity: 100,
      angle: 0,
      x: 100.50390625,
      y: 93.67578125,
      strokeColor: "#000000",
      backgroundColor: "transparent",
      width: 186.47265625,
      height: 141.9765625,
      seed: 1968410350,
      groupIds: [],
      roundness: null,
      boundElements: null,
      updated: 1,
      link: null,
      locked: false,
      frameId: null,
    } as SafeAny ],
    files : {}
} );


if ( blob )
{
    const fileName = `excalidraw-${ Date.now() }.png`;

    blob.then( async( actualBlob ) =>
    {
        const arrayBuffer = await actualBlob.arrayBuffer();
        const activeFile = this.plugin.app.workspace.getActiveFile();
        const folderPath = activeFile?.parent?.path || "";
        const filePath = `${ folderPath }/${ fileName }`;
        await this.plugin.app.vault.createBinary( filePath, arrayBuffer );
    } )
    .catch( error =>
    {
        console.error( "Error saving PNG file:", error );
    } );
}결과는?
잘된다. 그렇다면 문제는 .excalidraw파일에서 유효한 데이터들을 잘 읽어오는 것이다.
exportToBlob에 필요한 두 필수 파라메터인 Elements와 Files이다.
Excalidraw 파일 읽기
파일을 로드하는 부분은 zsviczian/obsidian-excalidraw-plugin: A plugin to edit and view Excalidraw drawings in Obsidian에서 참고한다. 일단 커서 AI에게 이 프로젝트에서 파일을 로드하는 부분을 찾아달라고 했다.
const ed = new ExcalidrawData( this.plugin );

if( file.extension === "excalidraw" )
{
    await ed.loadLegacyData( await this.plugin.app.vault.cachedRead( file ), file );

}
else
{
    await ed.loadData( await this.plugin.app.vault.cachedRead( file ), file,TextMode.raw );
}제대로 찾은것으로 보인다.
loadData에서 Json을 로드하는 코드가 존재한다.
const loadJSON = (): { scene: string; pos: number } =>
{
    const sceneJSONandPOS = getJSON( data );

    if ( sceneJSONandPOS.pos === -1 )
    {
        throw new Error( "Excalidraw JSON not found in the file" );
    }

    if ( !this.scene )
    {
        this.scene = JSON_parse( sceneJSONandPOS.scene );
    }
    return sceneJSONandPOS;
};.excalidraw파일에서 Elements들은 모두 Json형태로 저장되어 있으므로 가져다 사용할 코드는 다음 getJSON이 된다.
export function getJSON( data: string ): { scene: string; pos: number }
{
    let res;

    if ( isCompressedMD( data ) )
    {
const [ result, parts ] = getDecompressedScene( data );다른 부분을 제외하고 필요한 부분을 찾았다. 역시 압축이 되어 있었고 압축을 해제하는 과정이 있음을 알 수 있다.
const getDecompressedScene = ( data: string, ): [ string, IteratorResult< RegExpMatchArray, any > ] =>
{
    let res = data.matchAll( DRAWING_COMPRESSED_REG );
    let parts;

    parts = res.next();

    if ( parts.done )
    {
        res   = data.matchAll( DRAWING_COMPRESSED_REG_FALLBACK );
        parts = res.next();
    }

    if ( parts.value && parts.value.length > 1 )
    {
        return [ decompress( parts.value[ 2 ] ), parts ];
    }

    return [ null, parts ];
};

export function decompress ( data: string, isAsync: boolean = false ): string
{
    let cleanedData = '';

    const length = data.length;
    for ( let i = 0; i < length; i++ )
    {
        const char = data[ i ];
        if ( char !== 'n' && char !== 'r' )
        {
            cleanedData += char;
        }
    }

    return LZString.decompressFromBase64( cleanedData );
};압축 해제는 결과적으로 LZString.decompressFromBase64()를 사용한다.
이 정도만 알면 .excalidraw파일에서 Elements를 가져올 수 있을 것으로 보인다.
Elements 가져오기
이제 참조했던 코드를 가지고 Elements를 가져온다.
다음은 [[!fileName.excalidraw]]이렇게 링크가 걸려있는 태그로부터 fileName.excalidraw파일명을 추출하여 이 파일의 Elements를 가져오는 코드이다.
let file = this.plugin.app.metadataCache.getFirstLinkpathDest( fileName, fileName );

if ( !( file instanceof TFile ) ) return null;

let excalidrawContent = await this.plugin.app.vault.cachedRead( file );
let match = excalidrawContent.matchAll( DRAWING_COMPRESSED_REG );
let parts;

parts = match.next();

if ( parts.done )
{
    match = excalidrawContent.matchAll( DRAWING_COMPRESSED_REG_FALLBACK );
    parts = match.next();
}

if ( parts.value && parts.value.length > 1 )
{
    let decompressContent = parts.value[ 2 ];

    let cleanedData = "";
    const length = decompressContent.length;

    for ( let i = 0; i < length; i++ )
    {
        const char = decompressContent[ i ];
        if ( char !== "n" && char !== "r" )
        {
            cleanedData += char;
        }
    }

    let decompressedContent = LZString.decompressFromBase64( cleanedData );
    let json = JSON.parse( decompressedContent );
} DRAWING_COMPRESSED_REG, DRAWING_COMPRESSED_REG_FALLBACK역시 Excalidraw 플러그인으로부터 가져왔다.
if ( isCompressedMD( data ) )처럼 압축이 되어있는지 검사하는 부분은 패스하였다.
어차피 내가 사용할 부분은 모두 .excalidraw파일을 읽어 사용하기 때문에 100% 압축되어 있는것으로 가정한다.
decompressedContent을 보니 잘 추출된다.
Embedded Files 가져오기
Elements 가져오기부분은 그리기 요소들만 포함된다.
.excalidraw를 편집기로 열면 ## Text Elements, ## Embedded Files, ## Drawing와 같은 부분들이 있는데 ## Drawing부분만 가져온 것이다.
## Text Elements부분은 따로 가져오지 않아도 이미지로 잘 저장된다. 따라서 ## Embedded Files부분만 가져오면 되는 것 같다.
이건 커서 AI가 해줄 수 있을거 같아서 바로 물어봤다.
const embeddedFiles: Record<string, SafeAny> = {};

const embeddedFilesMatch = content.match(/## Embedded Filess+([sS]*?)(?=s*##|$)/);

if ( embeddedFilesMatch && embeddedFilesMatch[ 1 ] )
{
    const fileEntries = embeddedFilesMatch[ 1 ].trim().split( "n" );

    for ( const entry of fileEntries )
    {
        const fileMatch = entry.match( /([a-f0-9]+):s*[[(.*?)]]/ );

        if ( fileMatch && fileMatch.length >= 3 )
        {
            const fileId = fileMatch[ 1 ];
            const filePath = fileMatch[ 2 ].trim();

            try
            {
                const imageFile = this.plugin.app.metadataCache.getFirstLinkpathDest( filePath, filePath );

                if ( imageFile instanceof TFile )
                {
                    const fileContent = await this.plugin.app.vault.readBinary( imageFile );
                    const fileType = fileTypeChecker.detectFile( fileContent );
                    const mimeType = fileType?.mimeType || "image/png";

                    const base64Content = this.arrayBufferToBase64String( fileContent );
                    const dataURL = `data:${ mimeType };base64,${ base64Content }`;

                    embeddedFiles[ fileId ] =
                    {
                        id : fileId, dataURL, mimeType, created : Date.now(), lastRetrieved : Date.now()
                    };
                }
            }
            catch ( error )
            {
                console.error( `Error loading embedded file ${ filePath }:`, error );
            }
        }
    }
}

return embeddedFiles;코드를 보니 문제 없이 동작할 것 같다.
이미지 익스포트
Elements 가져오기에서 생성한 Elements와 Embedded Files 가져오기에서 생성한 files를 가지고 exportToBlob으로 추출, 파일로 저장해보았다.
let blob = exportToBlob
( {
    elements : json['elements'],
    files    : embeddedFiles
} );

if ( blob )
{
    imageFileName = `excalidraw-${ Date.now() }.png`;

    blob.then( async( actualBlob ) =>
    {
        const arrayBuffer = await actualBlob.arrayBuffer();
        const activeFile = this.plugin.app.workspace.getActiveFile();
        const folderPath = activeFile?.parent?.path || "";
        const filePath = `${ folderPath }/${ imageFileName }`;
        await this.plugin.app.vault.createBinary( filePath, arrayBuffer );
    } )
    .catch( error =>
    {
        console.error( "Error saving PNG file:", error );
    } );
}결과는?
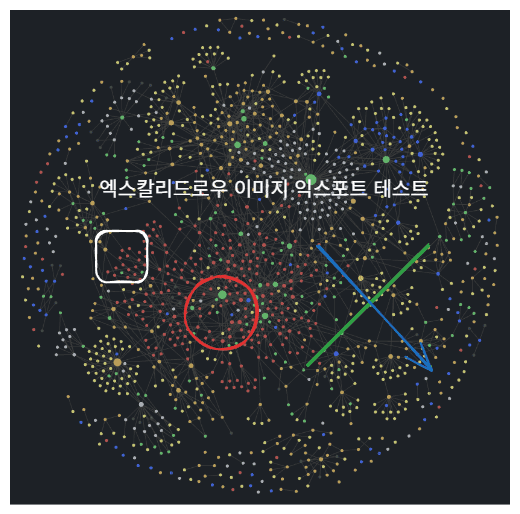
이미지 파일이 잘 생성되는 것을 볼 수 있었다.
이제 기존 본문의 엑스칼리드로우 링크 태그를 생성된 이미지 파일로 변경해주면 된다.
임시 파일 삭제
private tempExcalidrawImages: string[] = [];


private async exportExcalidrawToImage( fileName : string ) : Promise<string | null>
{
    // ...
    this.tempExcalidrawImages.push( filePath );
    // ...
}

private async cleanupTempExcalidrawImages() : Promise<void>
{
    if ( this.tempExcalidrawImages && this.tempExcalidrawImages.length > 0 )
    {
        for ( const filePath of this.tempExcalidrawImages )
        {
            try
            {
                await this.plugin.app.vault.adapter.remove( filePath );
            }
            catch ( error )
            {
                console.error( `Error removing temporary file ${ filePath }:`, error );
            }
        }

        this.tempExcalidrawImages = [];
    }
}익스포트된 이미지는 업로드까지 모두 마치면 내 옵시디언 볼트에서는 필요없는 파일이다.
따라서 이미지로 생성한 파일들은 따로 리스트업 해두었다가 모든 작업이 끝나면 제거해준다.
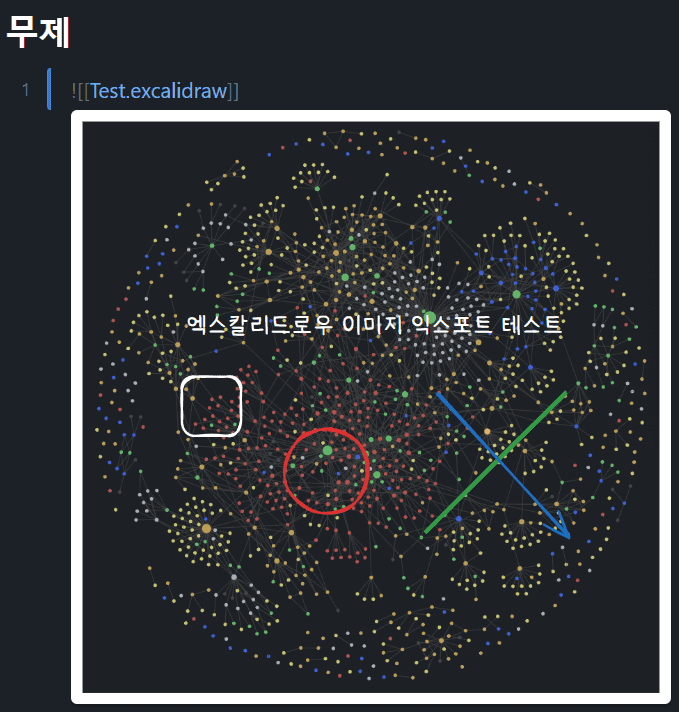
위와 같이 테스트용 문서를 포스팅해보았다.
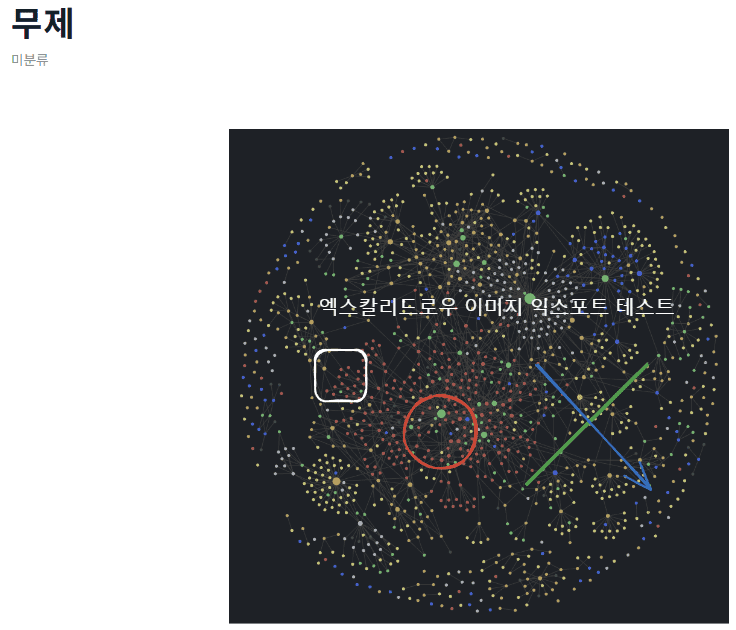
추가 수정없이 미리보기로 본 워드프레스 글이다.
아주 잘된다. 이제 옵시디언에서 초안을 작성하고 거의 대부분 워드프레스로 옮겨갈 수 있을 것 같다.
한결 쉬워졌으니 포스팅에 대한 부담도 많이 줄듯 싶다.